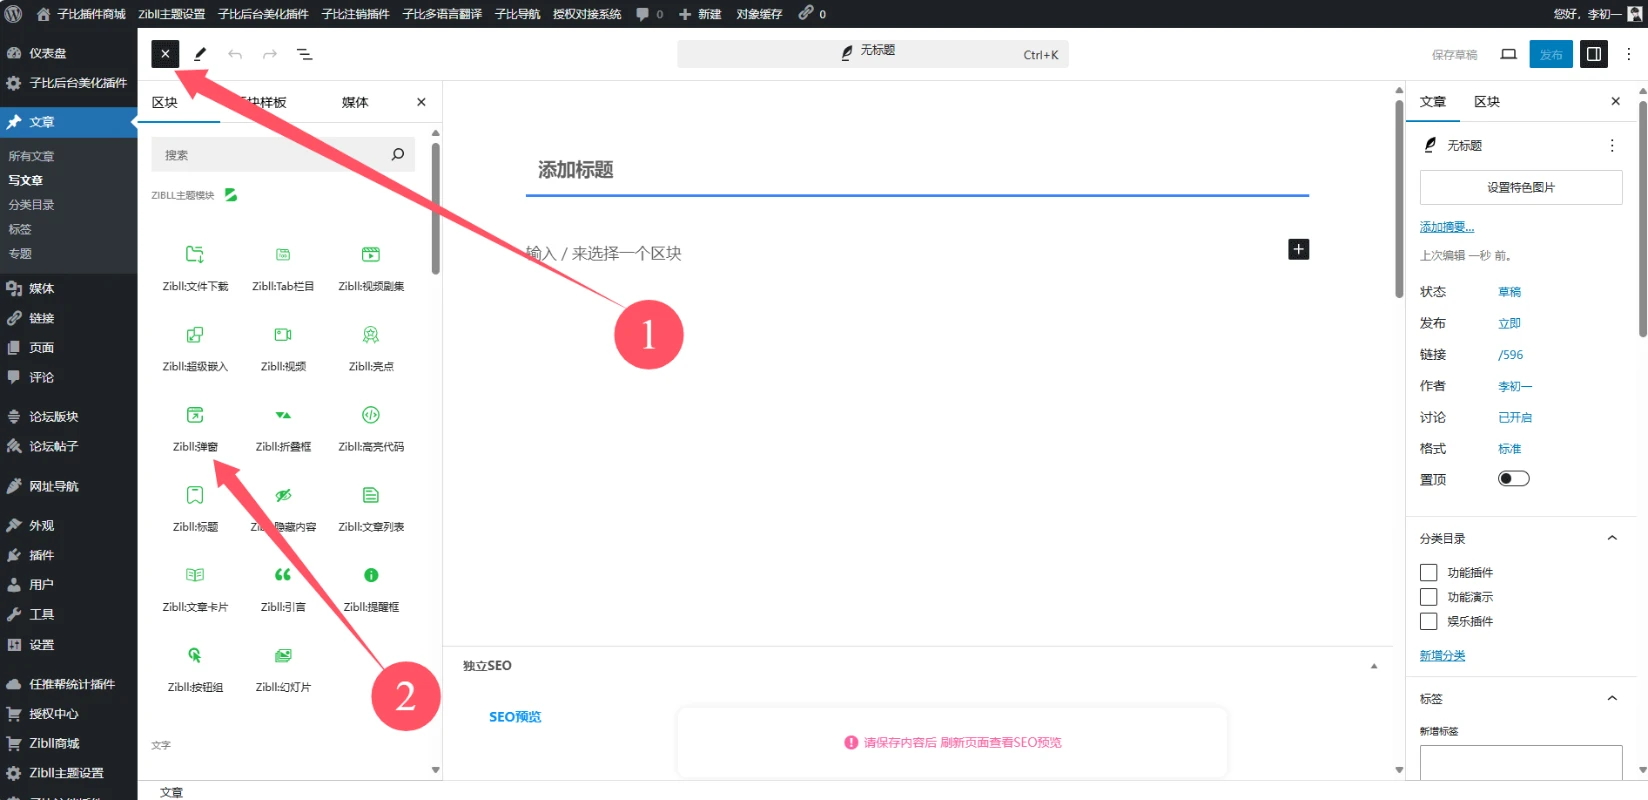
子比主题功能 – 发布文章进阶教程《弹窗篇》kobai1年前更新关注私信21940 默认版 默认版为子比主题自带的文章编辑器,请注意:只有古腾堡区块编辑器可以使用,经典编辑器以及其他的富文本编辑器和markdown编辑器是不可用的。首先我们前往编辑文章页面,按照下图操作展开区块小工具页面,找到 Zibll:弹窗 然后大家可以开始编辑弹窗显示的内容了,右下角可以设置弹窗的大小,按钮等配置 编辑好内容只后,右边的复制代码。请复制他,然后使用赋予超链接的形式赋予给文字或按钮以及图片等任意你想要赋予的区块。 像上面这样,就成功的给文章增加弹窗了,页面也是同理的可以增加的。 进阶版 进阶版支持更多的骚操作,但是需要你对HTML代码有一定的掌握,否则不建议使用进阶版其实就是给HTML按钮,链接,图片等相关区块增加一部分的参数,实现点击唤起弹窗其主要就是增加 data-toggle="modal" data-target="#modal_payzibll"其中的 #modal_payzibll为主要参数,需要填写正确你的弹窗所绑定的ID(ID具有唯一性,一个页面不能多个相同的ID)而弹窗方面代码如下: <div class="modal fade" id="modal_payzibll" tabindex="-1" role="dialog" style="display: none;"> <div class="modal-dialog modal-sm" style="margin-top: 330.5px;" role="document"> <div class="modal-content"> <div class="modal-body"> <div style="padding: 1px;"> <div class="modal-colorful-header colorful-bg jb-cyan"> <button class="close" data-dismiss="modal"> <svg class="ic-close" aria-hidden="true"> <use xlink:href="#icon-close" rel="external nofollow" > </use> </svg> </button> <div class="colorful-make"> </div> <div class="text-center"> <div class="em2x"> <svg class="icon" aria-hidden="true"> <use xlink:href="#icon-share" rel="external nofollow" > </use> </svg> </div> <div class="mt10 em12 padding-w10">前往</div> </div> </div> <div> <div class="ml10"> <p class="c-red">当前正在前往子比主题官网,从本链接前往将享受立减¥10元,购买后可凭订单号联系站长获取30元返利!</p> </div> </div> </div> </div> <div class="modal-buts but-average"> <a type="button" data-dismiss="modal" class="but" href="javascript:;" rel="external nofollow" >取消</a> <a type="button" class="but c-red" href="https://www.zbtool.cn/?golink=aHR0cHM6Ly93d3cuemlibGwuY29tL3BheS16aWJsbD9yZWY9MTQ4NTk=" rel="external nofollow" >立即前往</a> </div> </div> </div></div> 弹窗代码我们只需要放置在子比主题后台的自定义底部HTML则可以实现任何页面都可以挂钩弹窗进行调起这个弹窗等你慢慢熟悉操作以后,你也可以自定义弹窗的样式,设置成更多不同的样式弹窗代码部分主要内容如下 此处内容已隐藏,请评论后刷新页面查看. 不懂你就慢慢摸索,多次尝试总能摸索出来更多玩法也别来问我,知识从来不是白来的,要么是花钱学习的,要么是血淋淋的教训我给大家做了静态版的弹窗演示代码,仅需复制内容粘贴至vscode内,即可开始静态可视化修改弹窗样式 来源:详情 © 版权声明 版权声明 1 本网站名称:星空知 2 本站永久网址:https://www.xkzhi.cn/ 3 本网站的文章部分内容可能来源于网络,仅供大家学习与参考,如有侵权,请联系站长 QQ1397403557进行删除处理。 4 本站一切资源不代表本站立场,并不代表本站赞同其观点和对其真实性负责。 5 本站一律禁止以任何方式发布或转载任何违法的相关信息,访客发现请向站长举报 6 本站资源大多存储在云盘,如发现链接失效,请联系我们我们会第一时间更新。 THE END子比教程技术教程子比美化技术教程# WP# Html# 网站# 子比# 美化 喜欢就支持一下吧点赞0 分享QQ空间微博QQ好友海报分享复制链接收藏